Katana Making Process: Clay Temper
By Dremdsword
August 8th, 2024
2046 views
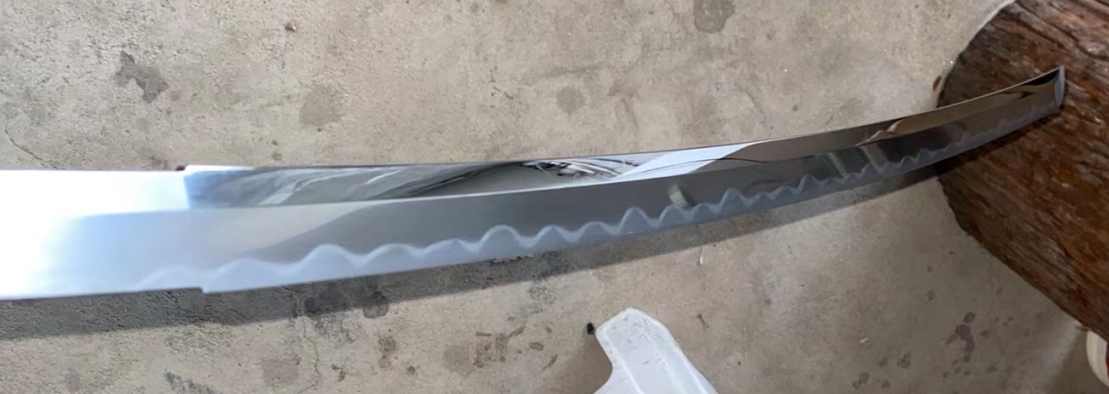 A traditionally designed Katana that has a hamon, a unique, and distinct blade pattern line, is likely to have been clay-tempered. These katanas are more authentic as Japanese swordsmiths have been using clay for differential treatment of their blades since 1000 years ago.
What is Clay Tempering?
Clay temper, also known as clay hardening or clay coating, is a technique used in the process of heat treating blades, particularly in swordsmithing. It involves applying a layer of clay to the surface of a blade before subjecting it to the heat treatment process of quenching and tempering. This makes the sword's edge very hard and the middle part bendy. The boundary between these two areas is called hamon and is commonly seen as a frosted wavy line down the length of a polished sword blade.
Functions of Clay-Tempered Katanas
- Differential Hardening: Clay tempering creates a contrast in hardness along the blade. By applying a layer of clay, different sections of the blade cool at different rates during the quenching process. The exposed sections cool rapidly, resulting in a harder martensitic structure, while the clay-covered sections cool more slowly, leading to a softer structure. This differential hardening creates a blade with a hard cutting edge and a more flexible spine, enhancing its overall performance and resilience.
- Sharpness & Durability: The combination of hard and soft areas achieved through clay tempering provides a balance of strength and flexibility in the blade. The hardened cutting edge allows for effective cutting and edge retention, while the softer spine increases the blade's durability and resistance to fractures. This balance is crucial for a blade to withstand the forces and stresses encountered during use.
- Hamon Patterns: Clay tempering produces the visually striking hamon pattern, also known as the temper line. This pattern is revealed through polishing and etching the blade after tempering. The hamon adds aesthetic appeal to the blade and is considered a hallmark of traditional Japanese swordsmithing. It represents the transition between the hardened edge and the softer spine.
- Craftsmanship Tradition: Clay tempering has been used in blade making for centuries, particularly in the crafting of Japanese swords. It is an integral part of traditional swordsmithing techniques and reflects the artistry and craftsmanship associated with these blades. Clay tempering allows swordsmiths to create unique and individualized blades with distinct temper line patterns, making each blade a work of art.
Clay Tempering Process
1. Blade Preparation:
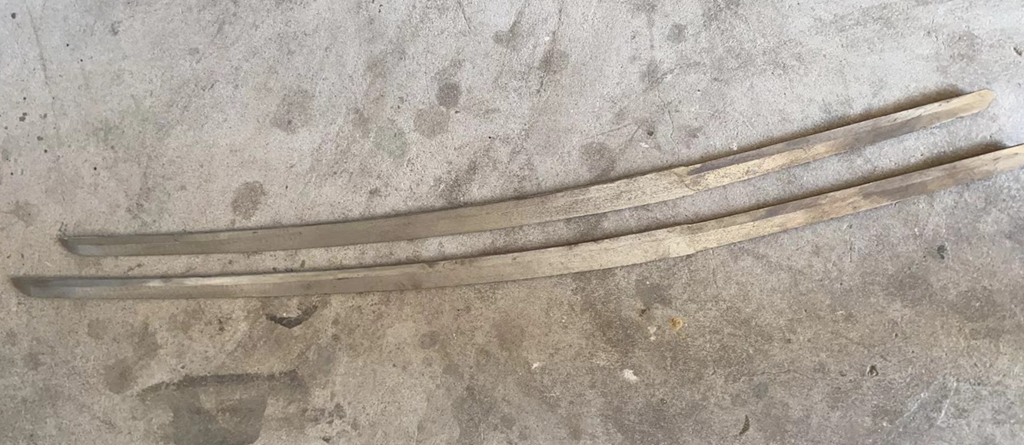
Start by forging the blade to the desired shape and thickness. Ensure that the blade is properly shaped and free from any defects or imperfections.
2. Clay Application:
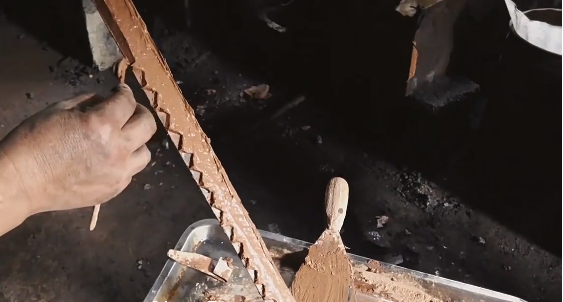
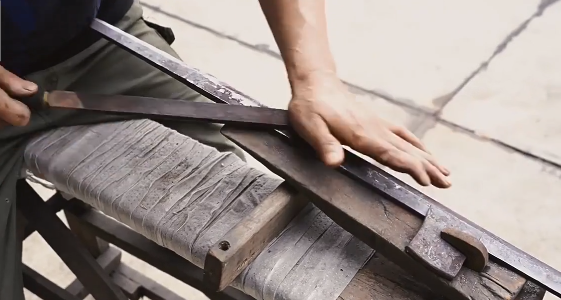
-Prepare the clay mixture by combining clay, water, and sometimes other materials like powdered charcoal or ash. The specific clay mixture may vary depending on the desired outcome and the traditions followed by the swordsmith.
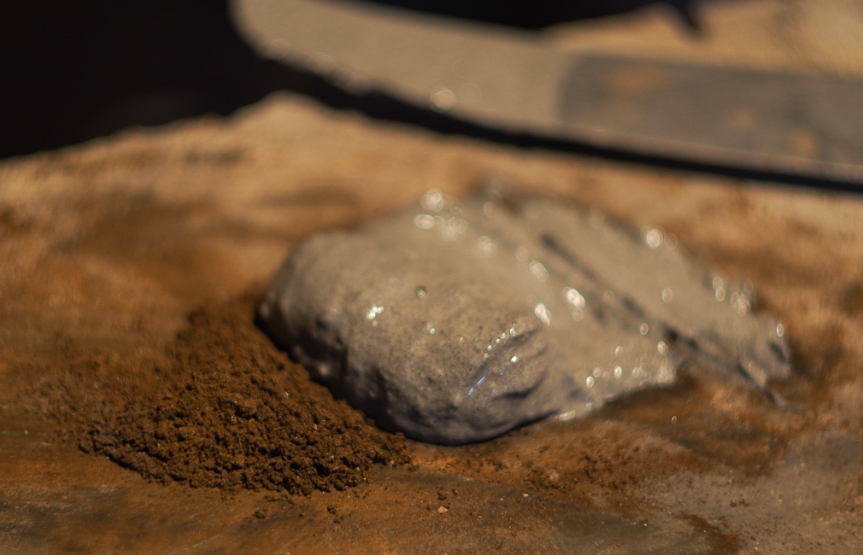
-Apply a thin, even layer of clay to both sides of the blade's surface using a brush or spatula, following a pattern chosen by the swordsmith. The thickness and coverage of the clay layer will determine the resulting hardness variations.
3. Drying: Leave the clay-coated blade to dry completely for a whole night. This step is crucial to ensure that the clay adheres firmly to the blade and does not crack or peel during the subsequent heating and quenching process.
4. Heating:
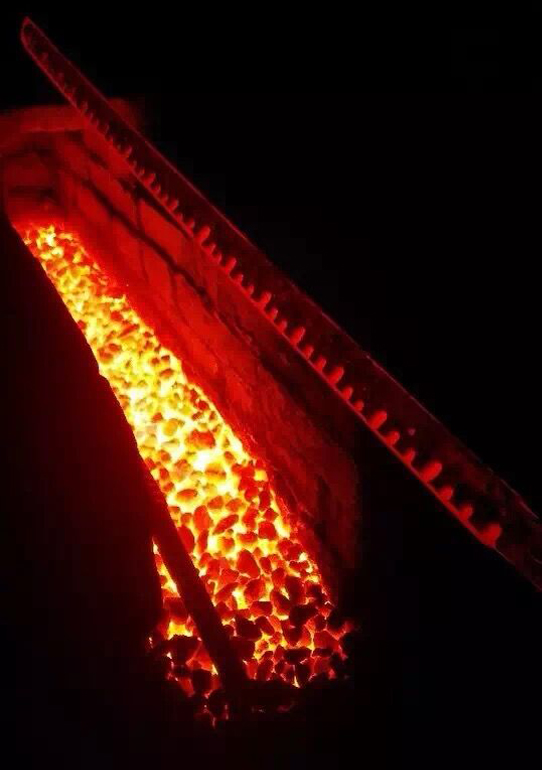
-Heat the blade in a forge or furnace to a critical temperature known as the austenitizing temperature. This temperature is specific to the type of steel used and typically ranges between 750°C and 850°C (1382°F and 1562°F).
-The heat treatment transforms the steel's microstructure into austenite, a high-temperature phase that allows for the subsequent hardening and tempering processes.
5. Quenching:
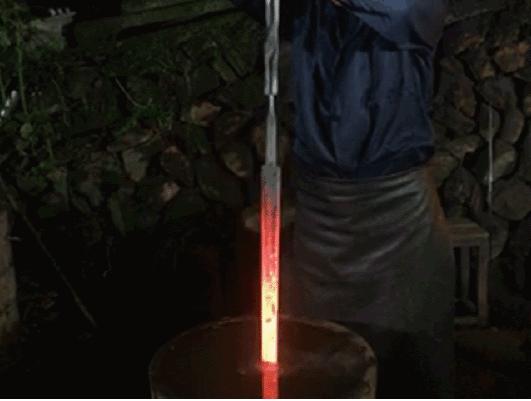
-Once the blade has reached the austenitizing temperature, carefully remove it from the heat source and transfer it to a quenching medium, such as oil, water, or brine. The choice of quenchant depends on the type of steel and desired blade properties.
-The rapid quenching rapidly cools the blade, causing a martensitic transformation, which results in a hard, brittle structure. This part is really important and can be tricky. If the sword isn’t heated evenly, it might crack. When the quenching is done right, the next step is yaki-modoshi. This is when the sword is tempered to reduce stress in the clay and steel.
6. Final Finishing:
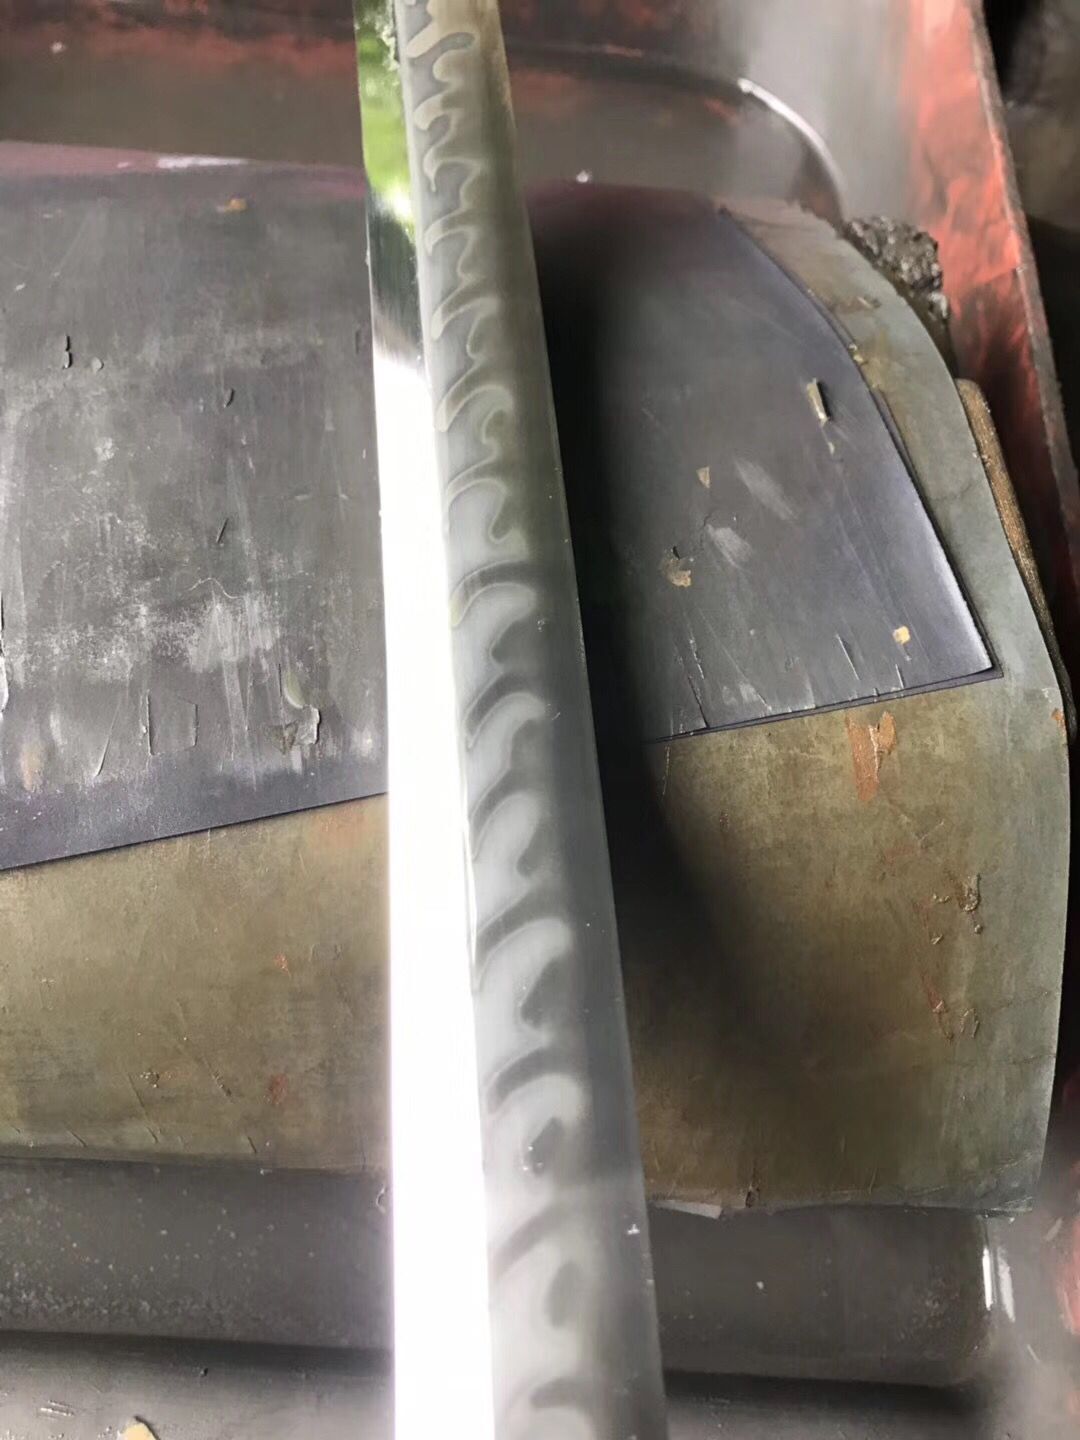
-After all these steps, the clay’s effect on the sword isn’t visible yet because it’s under the steel. To show the sword’s unique pattern, called hamon, there’s a special and careful polishing process called kaji-togi.
-Once the blade is carefully cleaned, polished, and often etched to reveal the distinct hamon pattern. This pattern showcases the transition between the hardened and softer areas of the blade, adding to its aesthetic appeal.
Previous
How to Maintain Your Katana Swords
Read More
Next
About Polishing the Japanese Samurai Sword
Read More


 A traditionally designed Katana that has a hamon, a unique, and distinct blade pattern line, is likely to have been clay-tempered. These katanas are more authentic as Japanese swordsmiths have been using clay for differential treatment of their blades since 1000 years ago.


